

Stitching Code by Hannah Twigg-Smith
I once tried to write in a CHI paper that “machine instructions do not simply emerge out of the ether”, a sentence which was vetoed by my advisor. I’ll admit that the wording is a bit tongue-in-cheek, but the sentiment remains. As anyone who has tried to use a CNC machine before knows, even well-established workflows for machines such as 3D printers can require a lot of trial and error before a set of instructions can be successfully run on a machine. Representations that specify what the thing looks like and how the thing is made encode fundamentally different types of information. Converting between the two has traditionally been mediated by CAM software, which is (almost always) designed with assumptions about the formats of input and output files.
My research focuses on digital fabrication workflows - a term for which I adopt the Wikipedia definition: “an orchestrated and repeatable pattern of activity”. I’m particularly interested in how workflows are discovered and developed, and how I might create tools to support that process. A workflow for using digital fabrication equipment needs to be created - much like their eventual physical artifacts, they do not spring into existence, fully-formed, from the forehead of Zeus. Workflows are often documented post-hoc in the form of tutorials, instructables, blog posts, or youtube videos. These are transportable and useful artifacts, but they also might be idealized reflections on the work that occured. Workflow development is always much messier than you expect it to be. What I’d like to do here is show my process of developing a workflow for embroidering audio waveforms. The eventual product of the workflow I developed - embroidered audio - wasn’t even my initial goal. I started out wanting to make an embroidery machine do something without relying on any of the proprietary (expensive) software.

The workflow I developed enabled embroidery of audio waveforms.
known unknowns
I’ve worked with a number of CNC machines before, but never an embroidery machine. Working at the Softlab has been the first time I’ve actually been able to use one. Access to embroidery machines is traditionally limited by 1) how expensive the machines are, 2) how expensive the software is, 3) the proprietary and purposely obfuscated interfaces to the machines, for which the lowest barrier-to-entry to climb is usually the purchase of the manufacturer’s expensive software.
At the outset, my goal was to make the machine go vroom. Due to my previous experience with CNC machines, I figured the first thing I needed to know was how to talk to the machine: i.e. the file format that uses a language the machine understands. This required some duckduckgo-ing - “embroidery file formats”, “brother embroidery machine file format” - but I eventually discovered the Edutech wiki, which has a number of pages on Machine embroidery that have been (by far) the best resource for this project. Their page on embroidery formats is comprehensive and a bit overwhelming, but from it and a few other articles I found that PES files are what I am looking for as they are compatible with the embroidery machine in the Softlab.
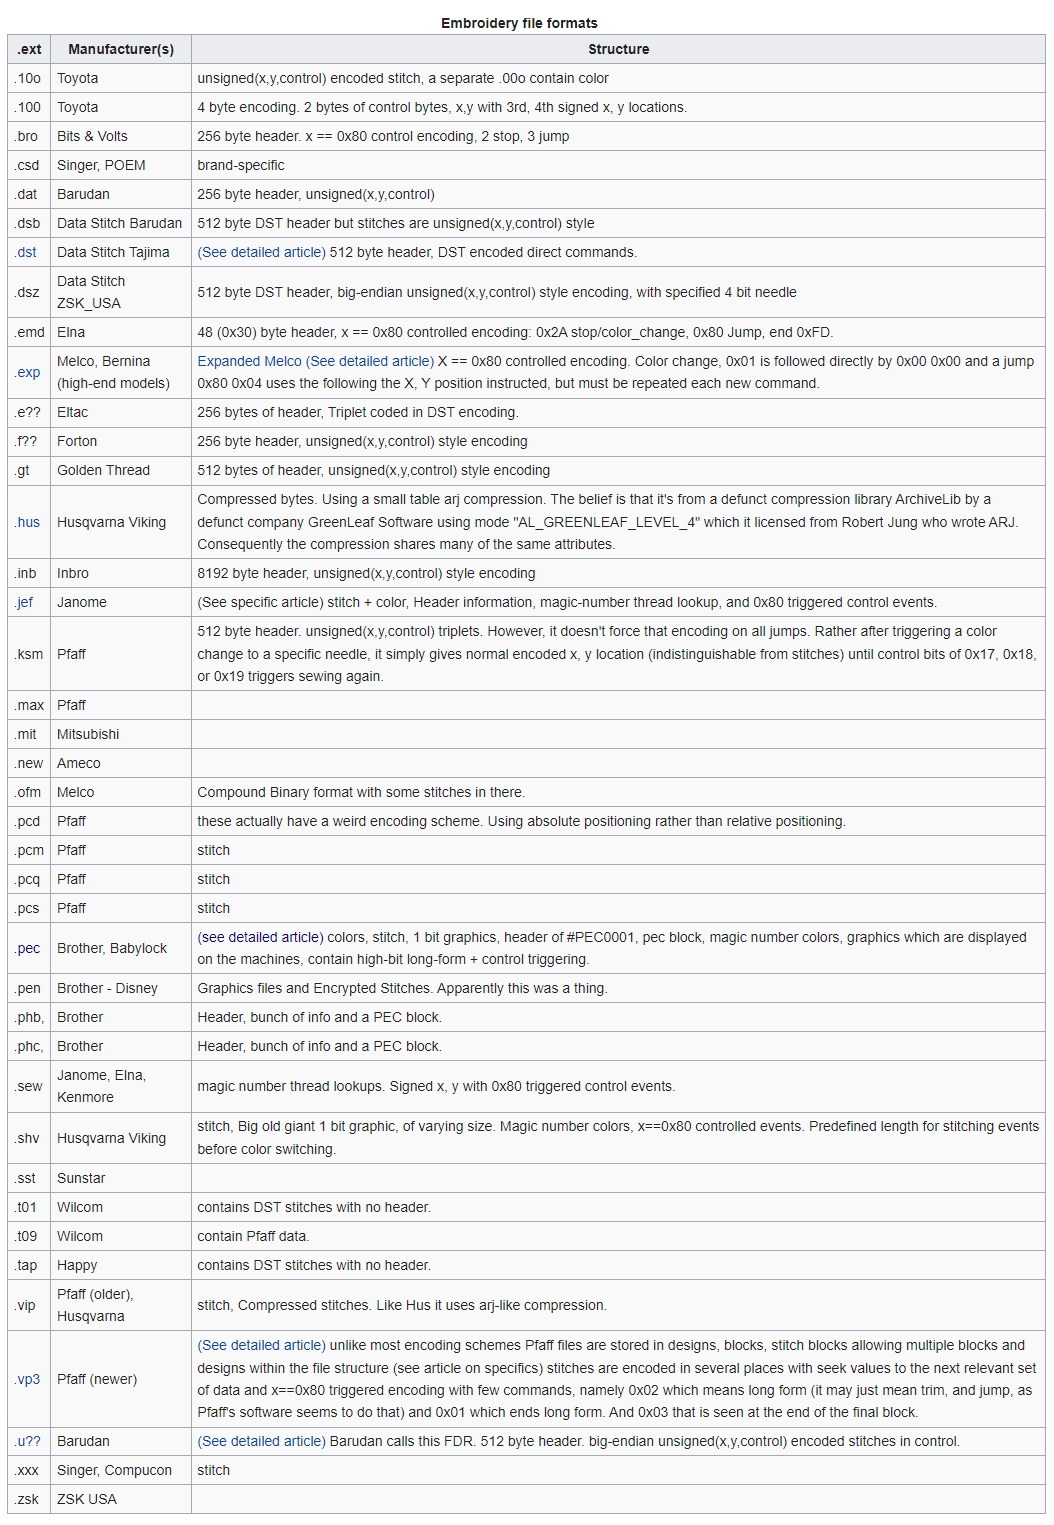
The overwhelming list of embroidery formats on the EduTech wiki.
I found a short article on the history of file formats as well - one of the most interesting bits to me were the comments on the article, most of which were asking questions to the author (the creator of a digitizing software called Hatch [digitizing is the process of designing how the embroidery machine should stitch a design, essentially embroidery CAM]) about converting between various image formats (JPG, SVG, even PDF) and embroidery formats (such as ART, EMB, or PES). As someone who has experience with CNC machines and their associated file formats, it’s easy to forget how foreign this process can be to people who don’t.
library browsing
I had determined that I needed a PES file for the machine, so the next step was to figure out how to create one. I was already familiar with the existence of ink/stitch, a digitizer plugin for Inkscape, the open-source vector graphics editor (a free alternative to Adobe Illustrator). I did install it and successfully exported a PES file of a rectangle, but I lost interest in that approach because it wasn’t giving me the control I needed. I wanted to be able to specify the locations of the individual stitches programmatically, and for that I knew I needed some sort of programming library.
I searched around for any existing software libraries for embroidery and found a few right away by searching “programming library for embroidery” on duckduckgo and simply “embroidery” on Github. The two main libraries (judging by github stars, which gives me some comparison metric between them) seem to be PEmbroider (for Processing) and pyembroidery (for Python). I’m familiar with both languages, but I think Python is easier to integrate with other things, which is my eventual goal. I also have much more Python experience and am confident in my ability to get Python programs up and running quickly. I also found a bunch of smaller libraries such as this one written in C, one for Java and Android (wow), a PHP script for viewing PES files, a C# library for viewing PES files, and other small tools for supporting embroidery activities, like identifying DMC thread colors.

The PEmbroider Github repo (that’s a lot of stars for a pretty niche tool)

The pyembroidery Github repo
Along with these libraries, I also found two resources on the PES format: a github wiki and a page on the edutech wiki that describe the ins and outs of the format. Just scrolling through it is… a lot. The work on reverse engineering the format seems to have mostly been done by a single person, and there are a lot of commands that they haven’t been able to understand yet, which probably are relevant to low level machine operations. During this information gathering stage, I found a 2010 blog post written by Linus Torvalds titled “Embroidery.. gaah”, which just about sums up my feelings about Big Embroidery.
squares are simple
Library in hand, I started writing some code. This took me a while, because the pyembroidery library, while documented, didn’t have a ton of examples that I could copy and try. Usually, that’s how I learn when I try out new libraries; by copying and remixing example bits of code. Instead, the examples only demonstrated what single commands did rather than showing a full program. I was a bit confused what a “stitch block” was - at first I didn’t know if it was an area that the library would fill with a certain type of stitch, like a satin stitch. Through trying out some different configurations of commands, I realized that it was simply a collection of stitch coordinates. You create a stitch block by giving the command an array of x-y coordinates which map to the place that the needle will enter the fabric. So - here is the first function I made, which will embroider the outline of a square:
pattern = pyembroidery.EmbPattern()
stitches = [(0,0), (0,100), (100, 100), (100, 0), (0,0)]
pattern.add_block(stitches)
pyembroidery.write_pes(pattern, "output")
It’s only four lines of code, but this took me probably about half an hour to write. Running this code produced a pes file! I could now run it on the machine, which I did after Afroditi walked me through the process of threading the machine and running a job. I unfortunately don’t have any picture of this part of the process, but the machine embroidered a square outline from four stitches and automatically cut the thread when finished.
stars are less simple
Now that I knew all I needed was a series of xy-coordinates, I immediately saw that I could directly turn an SVG path into an embroiderable PES file. SVG - scalable vector graphics - is an image format that specifies image features numerically, rather than directly encoding individual pixel values (which is the case for raster image formats such as JPG). The core component of SVG is the Path - which is (at a high level) made up of a series of xy-coordinates. There are different types of lines that a path can contain (e.g. bezier curves) but I knew that it was easy to make an SVG with a path that easily translated to a series of straight lines between coordinates. I did this in Inkscape - I used the star tool to create the star shown here:

it’s a star!
With my star, I knew I could parse the path in Python using another library I was familiar with (svgpathtools) to get out a list of coordinates that could be used to make a stitch block. This is the code I wrote to do that:

Code for parsing an SVG path and directly adding the coordinates to an embroidery stitch block.
And here is the file that my code output, once executed on the machine.

A STAR!
“BUT WAIT!” you say. “THAT STAR IS FUNKY”
I agree. That star is funky. I was very confused.
It turns out that this bug had to do with how the SVG path was placed relative to the drawing board in Inkscape. Rather than drawing the star directly onto the artboard (where I drew it), Inkscape treated it as two separate operations: the star was drawn around the origin of the artboard and then translated to the center, which looks the same from the perspective of the star drawer. So, the path still contained the values that draw the star around the origin. My SVG conversion code looked only at the path values and ignored the translation - so the points which had negative values were “squished” back onto the original artboard, and the PES file was warped. To fix this, I deleted the translation instruction in the SVG code (which put the SVG back around the origin) and then moved the path back onto the artboard - which updated the values within the path directly, rather than moving them (invisibly) afterwards. I knew how to debug this because I’ve spent a lot of time looking at SVG files and know what the file structure should resemble. I was able to identify the extra instruction as something that did not belong in a file as simple as this one.
a tangent
I also wrote a function to fill make a square from a satin stitch. I didn’t use it in my eventual workflow, but it still is of a proof-of concept hard-coded implementation of satin stitching that I could expand on in the future. Here’s the code, which uses numpy’s linspace function to determine how far in the y-direction the needle should move for each stitch. The x coordinates stay the same, so the machine functionally bounces between 0 and 100 in x while incrementing the y coordinate by 5 after each (down and back) stitch.
pattern = pyembroidery.EmbPattern()

stitches = []
stitches_y_coords = np.linspace(0, 100, 20)
for stitch_y in stitches_y_coords:
    stitches.append((0, stitch_y))
    stitches.append((100, stitch_y))

pattern.add_block(stitches)

pyembroidery.write_pes(pattern, "output")

A satin stitch!
and now for something completely different
I’ve got a tool at my disposal - I can convert an SVG path to an embroiderable file. But now… what should I make? The day I was working on this, there was a discussion in our directed research group concerning audio and different ways of recording and playing sound. So, I was thinking about sound, and I was thinking about embroidery, and this led me to wondering how I might represent sound as an embroidered design. My first thought was to embroider a waveform. I was actually familiar with a tool that could generate an SVG waveform from a song - which I had seen on the drawingbots website. This site contains many links to tools that are intended for use with pen-plotters, 2-axis drawing machines. People who use pen plotters generally use SVG as the design representation that is converted to machine code, which is exactly what I am doing here, but for embroidery machine code rather than plotter machine code. The high-level representation of how the machines work are actually very similar - plotters draw with ink (or some other drawing utensil) and embroidery machines draw with thread. So I can take a tool that was developed with plotting in mind (audioplotter) and use its svg output as an input to my svg conversion code.

The audioplotter card on the drawingbots website.
Of course, this was much easier said than done - getting audioplotter to successfully convert a song of my choosing to an SVG waveform took hours (longer than I had spent on gathering information and implementing the SVG -> PES code). The project only took in URLs to audio files that were hosted somewhere on the internet - you could not upload an MP3 file. What I eventually ended up doing was cloning the audioplotter repository, running my own http-server to serve the MP3 file I wanted, and giving that URL to audioplotter as an input. Even this description glosses over some of the other things I had to do, like figuring out how to download a song file from my home Plex server and convert it from FLAC to MP3 (cloudconvert to the rescue). I initially looked to see if there were any free audio hosting sites that I could just upload a song to - like imgur for audio. There are, but they all required things like user accounts or free trials that I did not want to invest in for this project. Even as I write this, I’m sure that there is a better way of hosting audio on the web - and there might be someone out there who has a concise suggestion that will do exactly what I need. But I used the things I knew to settle on my own solution that, while not elegant, functioned well enough for this project, and I learned some things along the way.
the big reveal
Once I did get a waveform out of audioplotter, my PES file ran on the first try!
In-action shot of the song waveform being stitched.
I was very excited to get something that looked so good out of my first attempt. One thing thing I’d like to mention here is luck. In particular, it would have been easy for me to over- or under- estimate the number of zig zags of the waveform (entered into audioplotter) that I would need to get a nice-looking satin stitch. It turned out that my guess worked - 250. Changing that parameter would lead to embroidered waveforms that look very different. When it’s lower, the zigzag would be very obvious (which might be desired!). Higher, and the stitches might start to bunch up on top of each other - which also might be desired! Although, I imagine that if it is too high the needle might destroy the fabric it is embroidering into by entering the same location too many times. This is something that could be tested by playing around with the workflow more.

A finished embroidered waveform!

I thought the back looked neat.
I tweeted a video of the machine embroidering the waveform. One thing that I like about Twitter is how content can reach so many different people with different knowledge sets and backgrounds that they might share back with me, which is pretty neat!

I tweeted a video of the machine embroidering!
I was not expecting this sort of response- a thousand likes isn’t a whole lot in the grand scheme of things, but it’s more than I’ve ever gotten before. Many responses shared similar projects, asked questions, and linked to additional resources. Golan Levin responded with a link to PEmbroider (the embroidery library for Processing that I didn’t use) - which I thought was very funny.

OK maybe I’ll check out PEmbroider…
Lea Albaugh, an e-friend and fellow PhD student from CMU, shared a similar project they did a few years ago on a quilting machine:

Lea’s waveform quilt! Photo credit: Lea Albaugh
And it even reached Cosmo’s feed!

Cosmo liked it!
IN CONCLUSION…
At the start of this post I mentioned that I wanted to share the messy bits of my workflow development process. However, there are things that I wasn’t able to add because, even now, I feel that they were too tangential or would take too much time and space to write. I’ve found that workflow development is primarily about using the knowledge you have of existing tools (digital and physical) and data formats (like SVG) to reorganize them into a new configuration which enables production of a novel artifact. I learned many things this project that I will be able to bring with me to future projects. I now see the step to embroidering something as a straightforward continuation from an SVG representation, or even an array of xy-coordinates. With that entry point in mind, any tool I encounter that produces data in one of those formats now has the potential to become a design tool for machine embroidery, even if that was never the developer’s intention.
The code I played around with for this project can be found in a Github repository. I’m working on adding some code that will generate L-system embroideries… we shall see what happens next!

